Guest operating systems supported on Hyper-V are:
Supported Server Operating Systems:
Windows Server 2008 R2 (x64)
Windows Server 2008 (x86 and x64)
Windows Server 2003 R2 (x86 and x64)
Windows Server 2003 (x86 and x64)
Windows Server 2000 (x86)
SUSE Linux Enterprise Server 10 (x86 and x64)
SUSE Linux Enterprise Server 11 (x86 and x64)
Red Hat Enterprise Linux (RHEL) 5.2, 5.3 and 5.4 (x86 and x64)
Supported Client Operating Systems
Windows 7 (x86 and x64)
Windows Vista (x86 and x64)
Windows XP Professional (x86 and x64)
To check the lastest visit http://www.microsoft.com/windowsserver2008/en/us/hyperv-supported-guest-os.aspx
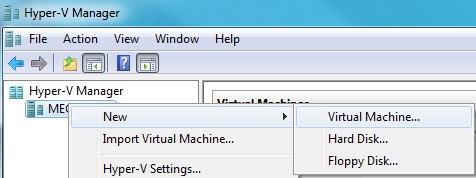
1. Open the Hyper-V Manager.
2. Right click the Hyper-V server and Select New --> Virtual Machine
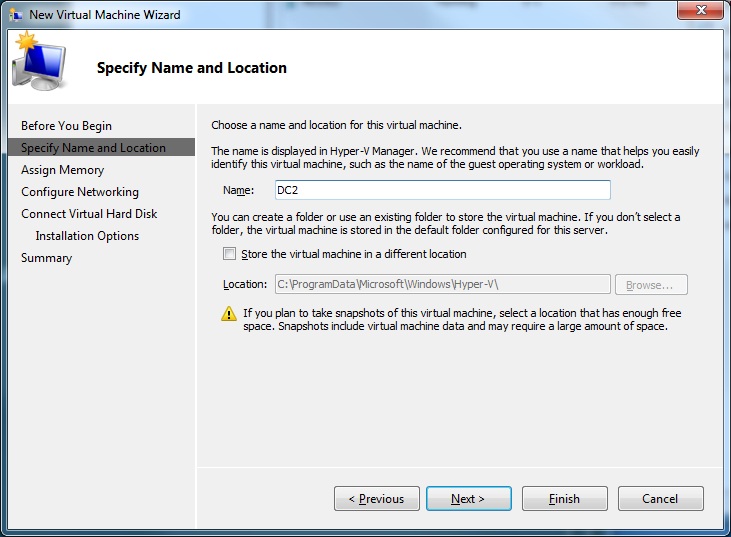
3. The New Virtual Machine Wizard will open. Click next.

4. Give the virtual machine a Name and specify a Location for the virtual machine files. Click next.
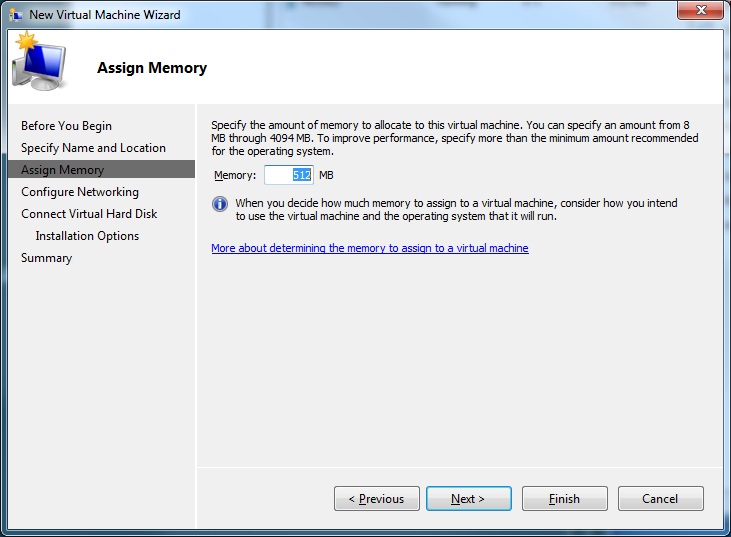
5. Enter the amount of memory. Click next.
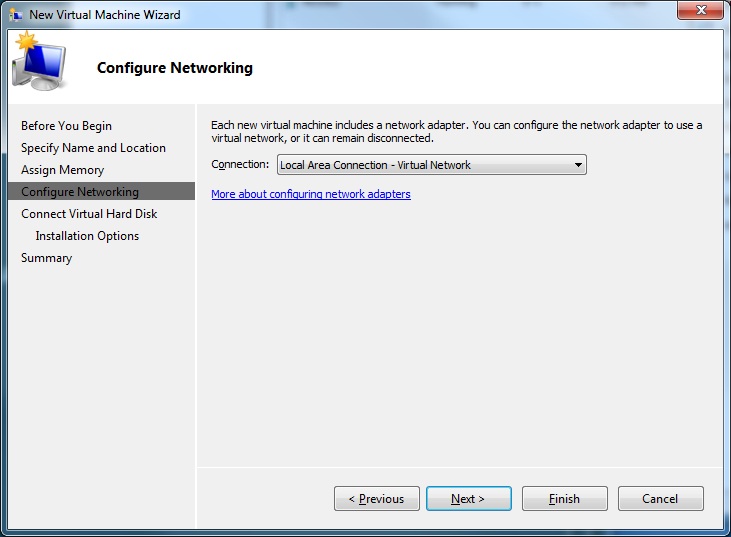
6. Select the virtual network to connect the virtual machine to. It can remain disconnected if required. Click next.
7. Specify the size of the virtual hard disk, the name and the location. Click next.

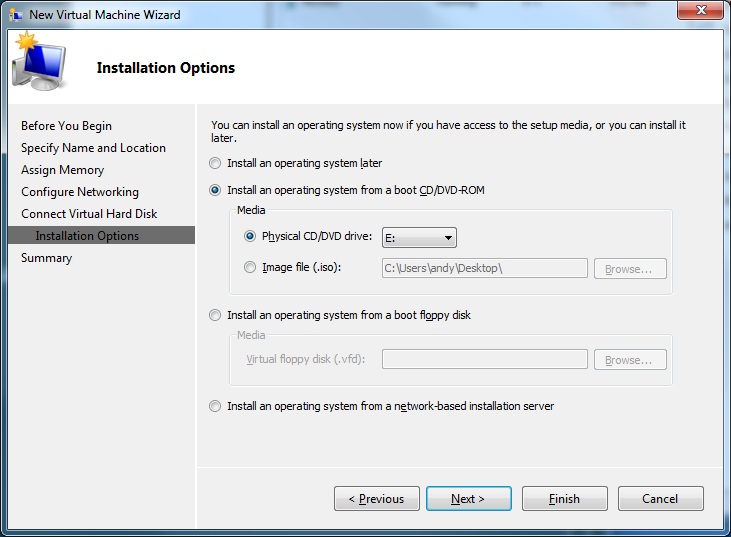
8. Choose how the operating system will be installed in the virtual machine. Click next.
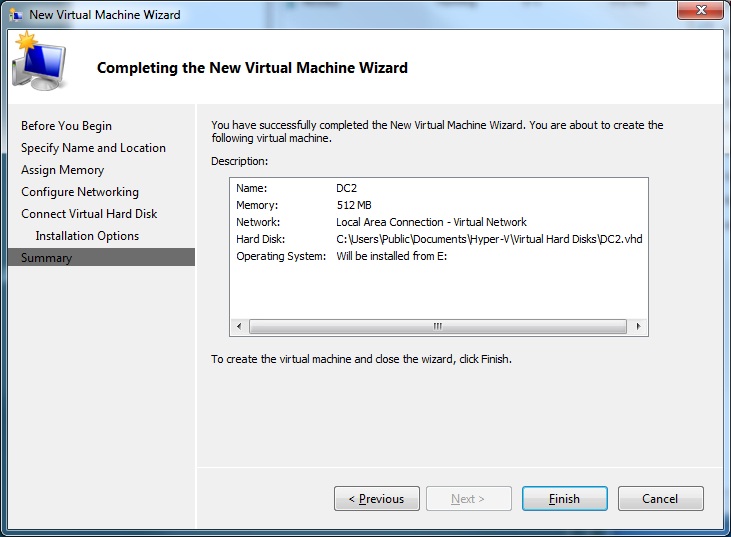
9. Review the configuration for the virtual machine and click Finish to create it.
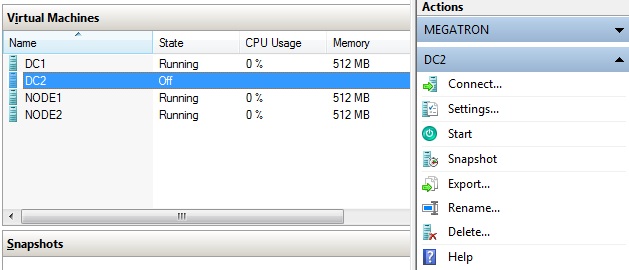
10. To start the virtual machine click Start in the actions pane to the right.
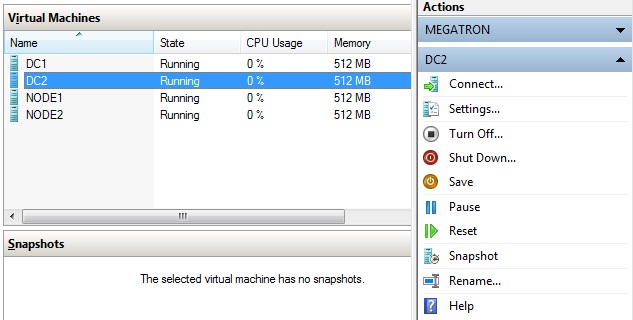
11. The state will change to "Running".
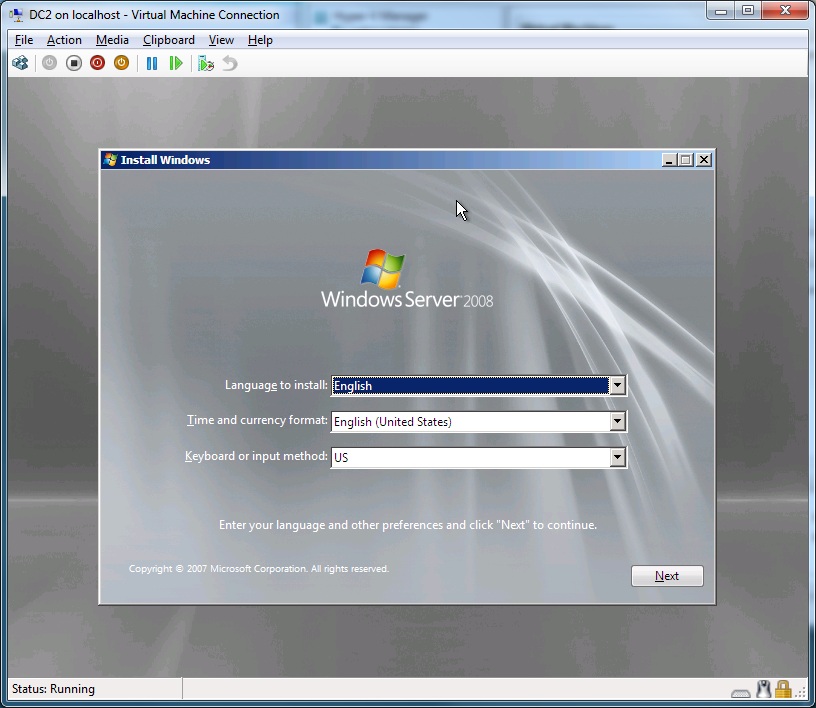
12. To open a virtual console to the virtual machine, click Connect in the actions pane.
No comments:
Post a Comment