Microsoft
Exchange 2003 is the successor of Exchange 5.5 in which Microsoft has
introduced many new features and improvements in architecture, like
“Front End Server” which resides on perimeter of the network and
protects internal exchange infrastructure.
New
message filtering features have been introduced for reliable messaging
system; it is fully integrated with Active Directory unlike exchange 5.5
where multiple mailboxes could be associate with single user, You have
to create user in active directory and the same wizard will ask for
mailbox storage for the user, user’s mailbox will be created on exchange
end automatically.
Its high availability can be achieved through clustering, In Exchange 5.5 was not offering high availability feature.
Installing Exchange 2003
There are few pre-requisites to be followed for installation of Exchange 2003.
Who can install Exchange 2003?
A user installing Exchange server must be member of following groups
- Domain Administrators
- Enterprise Administrators
- Local Administrator
What are the Hardware Requirements?
Exchange 2003 supports 32bit processor architecture.
It can be installed on 133 MHz processor however 733 MHz is recommended.
Minimum required RAM is 256MB while 512MB is highly recommended.
500MB space required for Installation and 200MB space on system drive.
File system must be formatted as NTFS on both system and installation drives
What are the Software Requirements?
Operating system must be Windows Server 2000 32bit with SP1 or higher
Operating
system must be fully patched and antivirus installed with latest
definition updates before you perform any installation activity.
There
are some basic windows components that must be installed on the server
before we begin installation of any exchange server role. These
components are
- Internet Information Service (IIS)
- NNTP (Network News Transfer Protocol)
- SMTP (Simple Mail Transfer Protocol)
- ASP.Net
Once
all the hardware is configured to use and powered ON with basic OS and
antivirus installations and updates etc, we can now proceed with the
starting of installation procedure.
Installing the Pre-Requisites
For the installation of Internet Information Services (IIS) follow these steps,
Go to Start Menu > Control Panel and click “Add or Remove Programs”
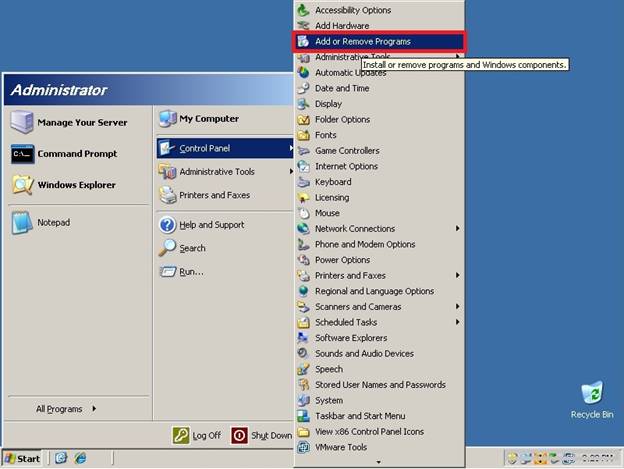
Fig. 01
On the Add or Remove Programs screen click last tab on the left side “Add/Remove Windows Components”
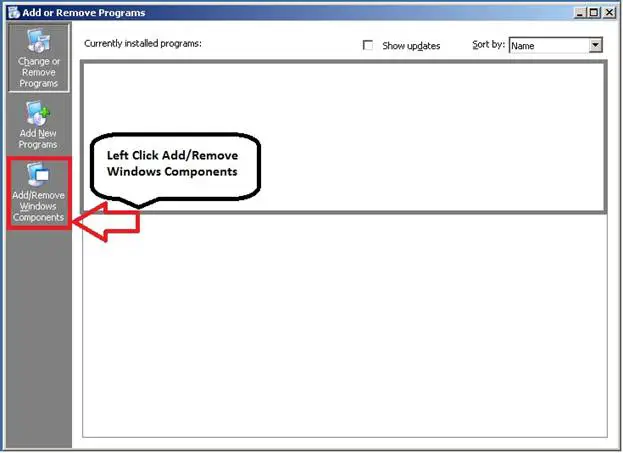
Fig. 02
A wizard will start to assist the installation procedure.
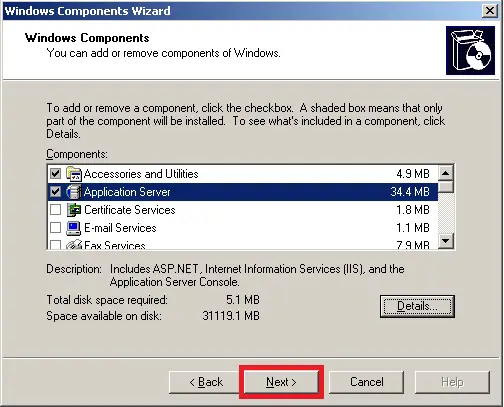
On the Windows Components Wizard screen select “Application Server” and click “Next”
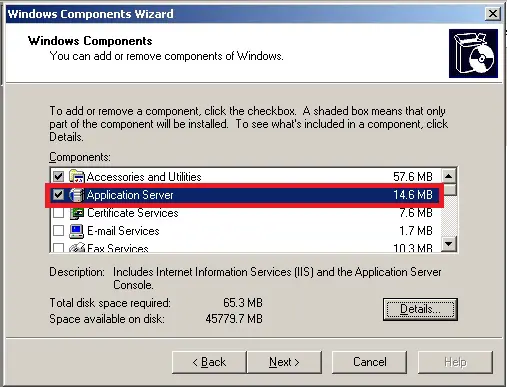
Fig. 03
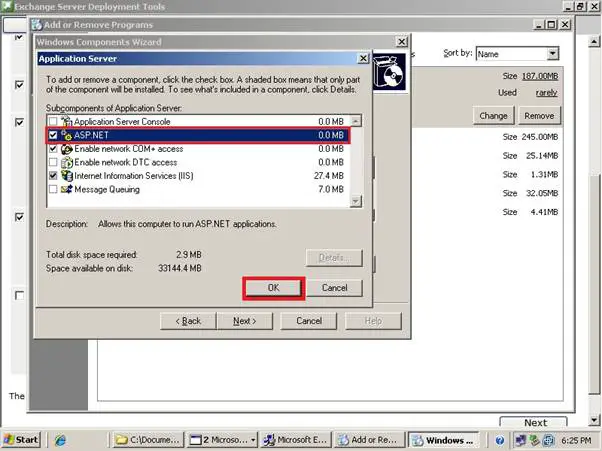
Click Details to select “ASP.NET”
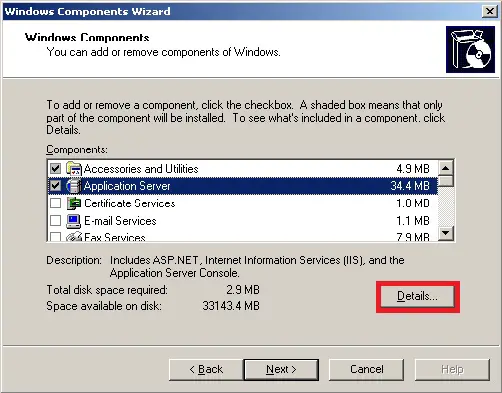
Fig.04
Click “ASP.NET” and click “OK”
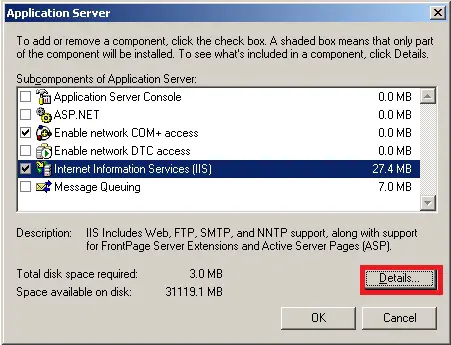
Check “Internet Information Services (IIS) and click “Details”
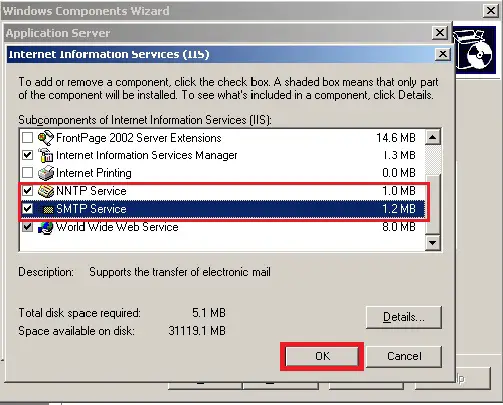
Check “NNTP Service” and “SMTP” service then click “OK”
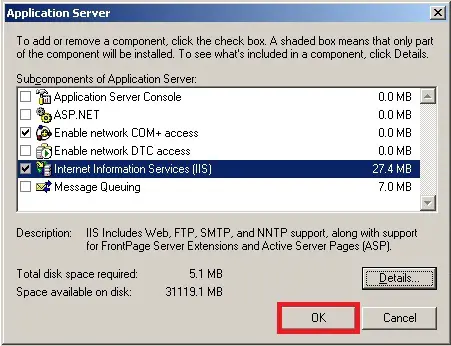
Remain “Internet Information Services (IIS) checked and Click “OK”
Make sure “Application Server” is checked and click “Next”
The installation will begin for NNTP, SMTP, ASP.NET and IIS services.
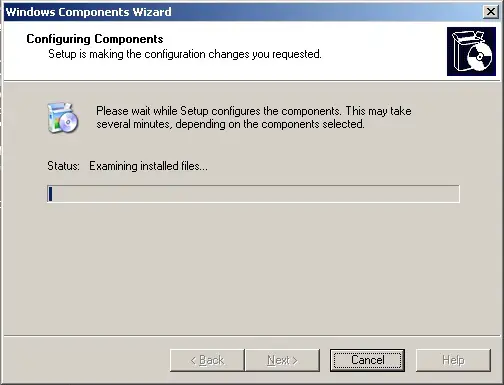
Fig. 05
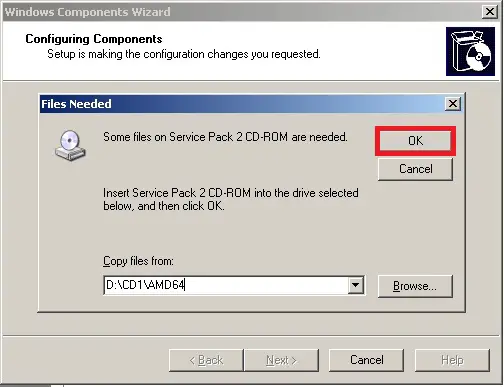
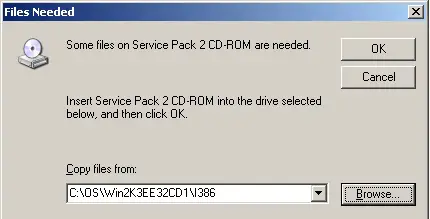
Incase
installer process asks for additional files located on any CD of
Windows XP or Windows7, provide correct path of the directory or CD
location by clicking browse button shown on your pop up screen
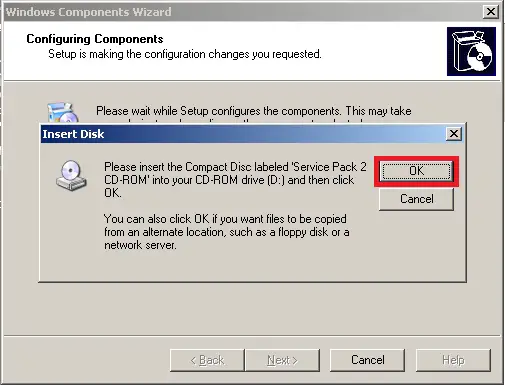
Fig. 06
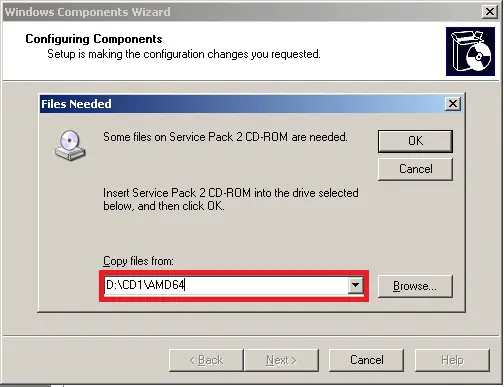
After providing the correct path click “OK” to continue installation
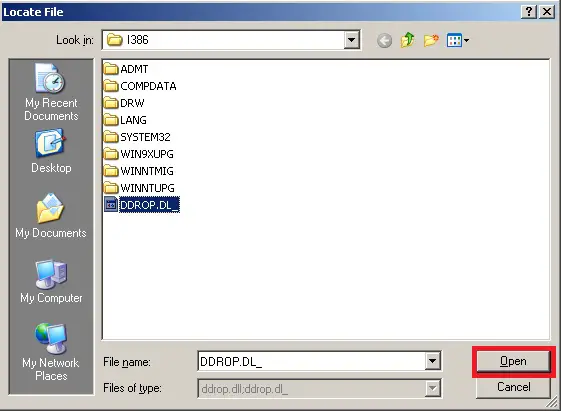
Select “DDROP.DL_” and Click “OPEN”
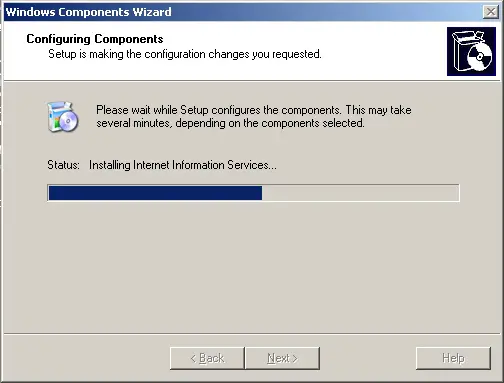
Click “OK” to continue.
And there the installation starts.
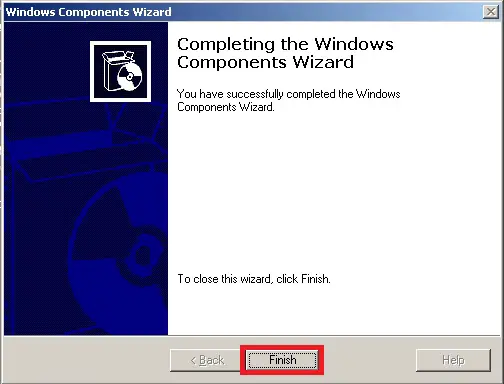
Once installation is completed click “Finish” to exit
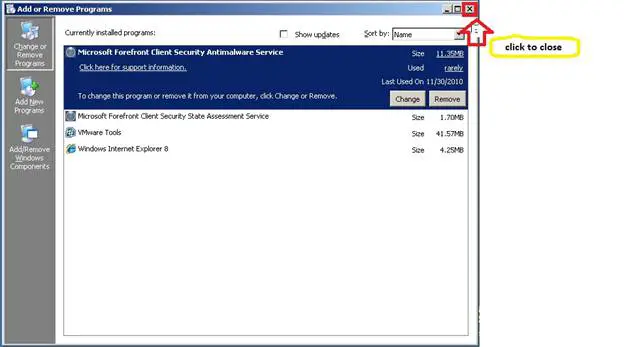
Now close “Add or Remove Programs”
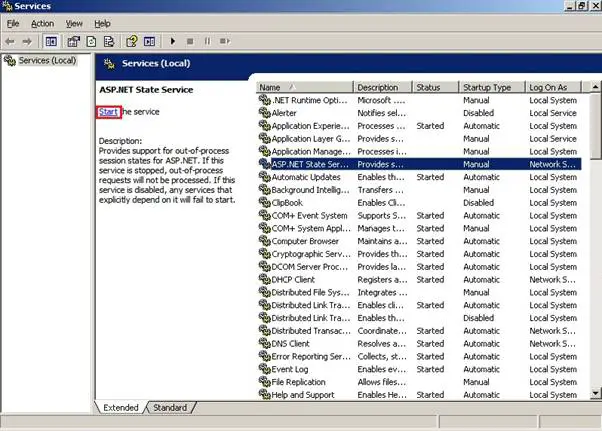
To Start “ASP.NET” Service, Click on Start>Administrative Tools> “Services”

Select “ASP.NET” from the list of services and Click “Start”
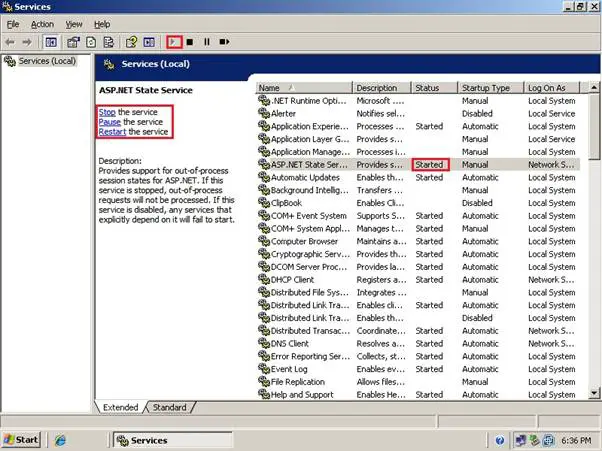
ASP Service has successfully been started. You can ensure this by looking at multiple places highlighted in the figure below.
After installing all pre-requisites, restart the server for changes to take effect
All pre-requisites have been completed, now we can start installation of Exchange 2003 setup.
Exchange 2003 Installation
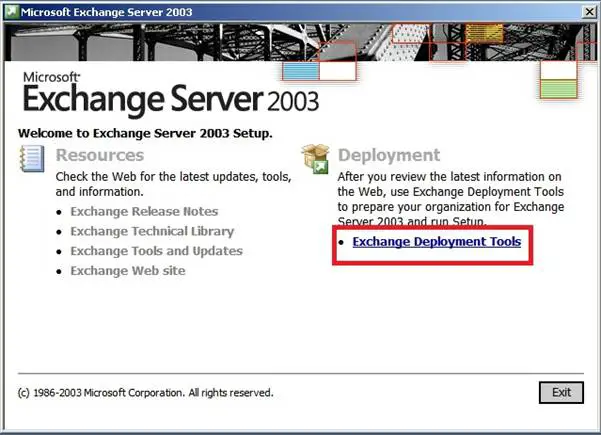
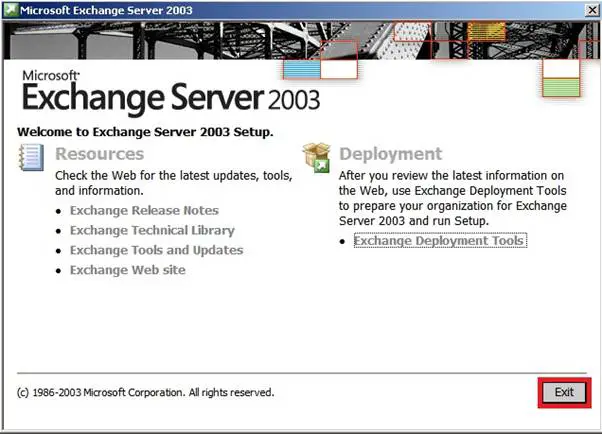
Run “Setup.exe” from installation media and the installation screen will appear.
Click on “Exchange Deployment Tools”
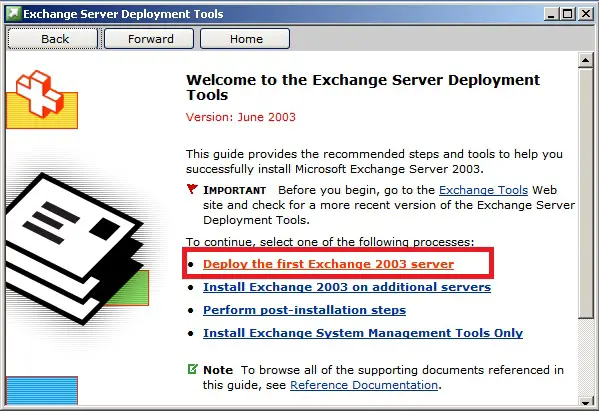
Since it is the very first exchange 2003 server in our organization we will select the red highlighted“Deploy the first Exchange 2003 Server”.
For the additional servers or other options you can go for the options given on this page instead
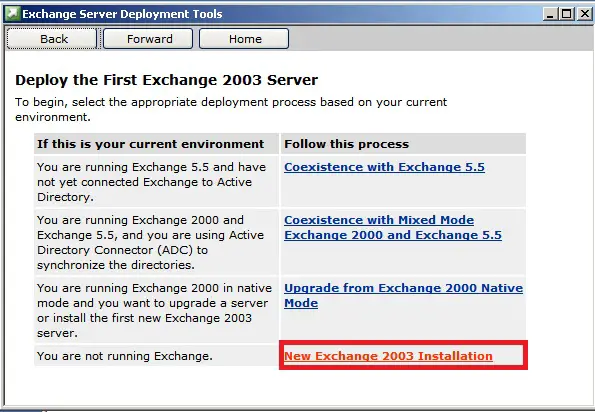
Once
you reach the next page you have even more advanced option for your
convenience. In the current scenario we shall go for the option given at
the bottom of list.
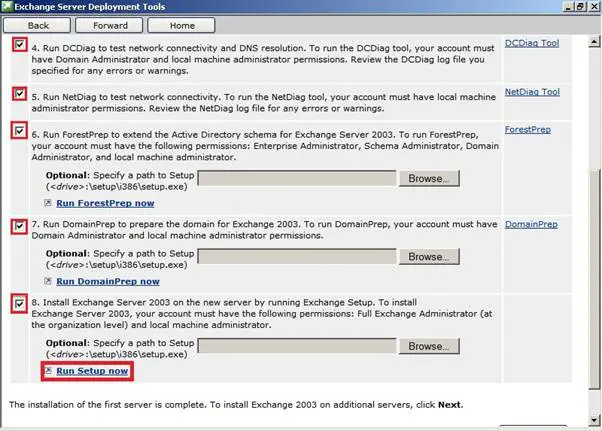
This
is important screen which will ask for many options to check and verify
all the pre-requisites are installed for exchange and installation can
proceed.
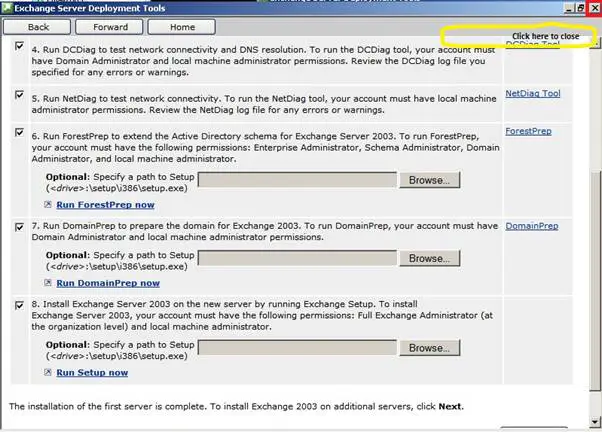
This is basically a checklist which lets you check your steps and help run some tools with great convenience.
Even
if you do not click the check boxes it will not affect the
installation, however it is best that you follow this checklist strictly
until you reach end of it.
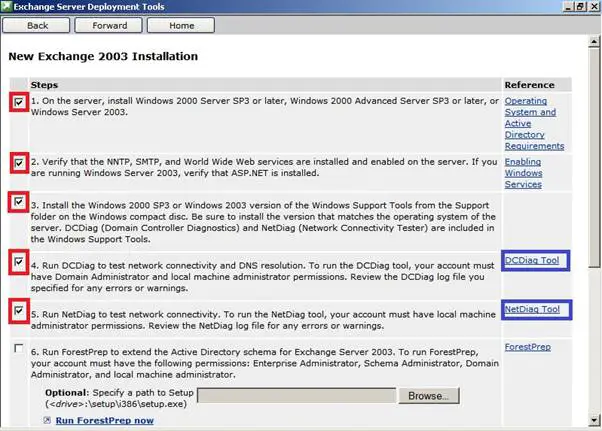
Check all the remaining options once you have followed them carefully and click on the link “Run Setup Now” as your final step towards start of installation process.
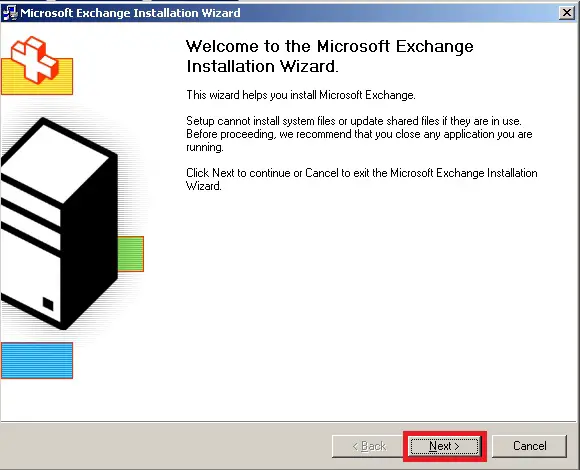
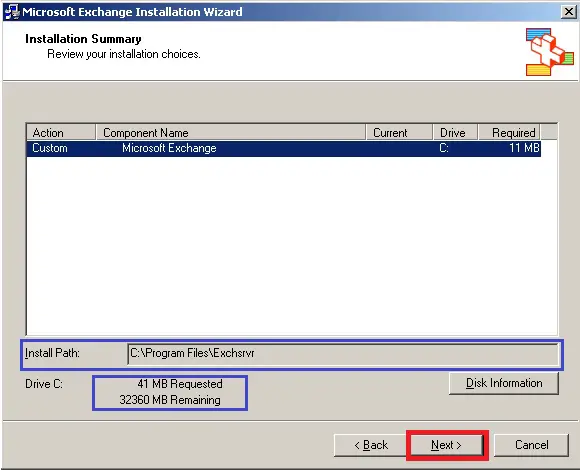
Click “Next” to proceed with wizard.
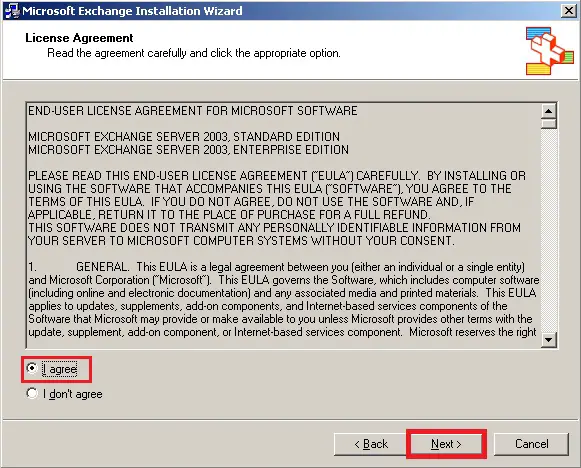
Select“I Agree” Option and click“Next”
Select“Custom Installation” so you can have better control over installation options
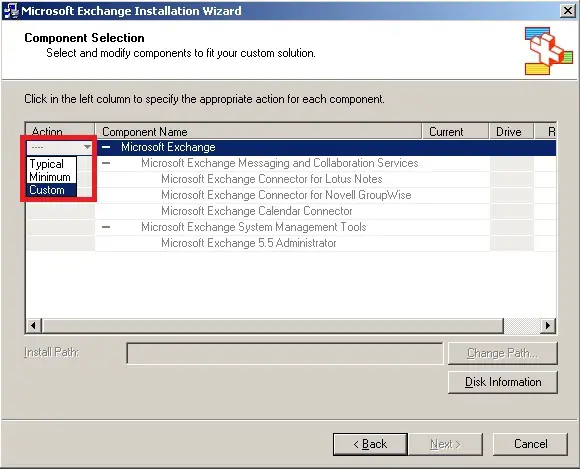
Select “Next” to confirm the selection.

In blue highlighted“Install Path” make sure you have entered the location where exchange binaries will reside as per your plan.
Make sure required and available space for installation is not unplanned for you.
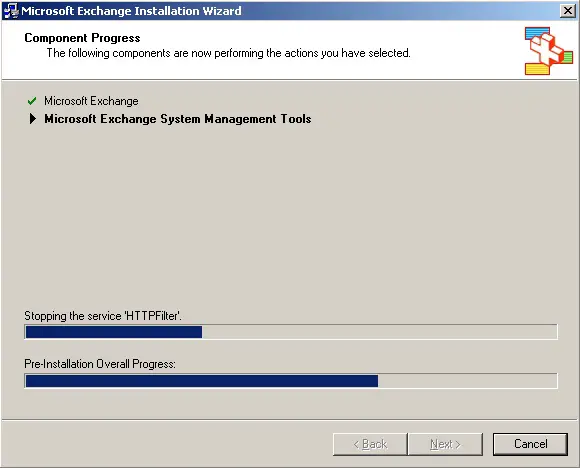
Installation will take some time to accomplish based on the hardware specifications and selected options.
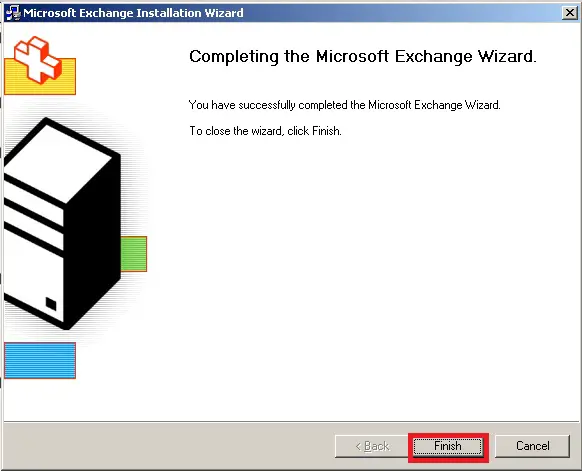
Once Installation is successful, complete the setup by clicking“Finish”
Click“Close” to exit the installation checklist.
Now click “Exit” button on installation wizard.
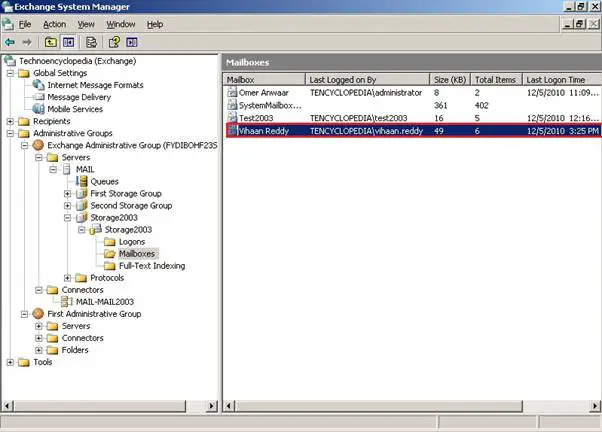
In order to confirm the installation go to
Start Menu > All Programs> Microsoft Exchange >System Manager
From here you can see and configure different options along with the user mailbox details as well.
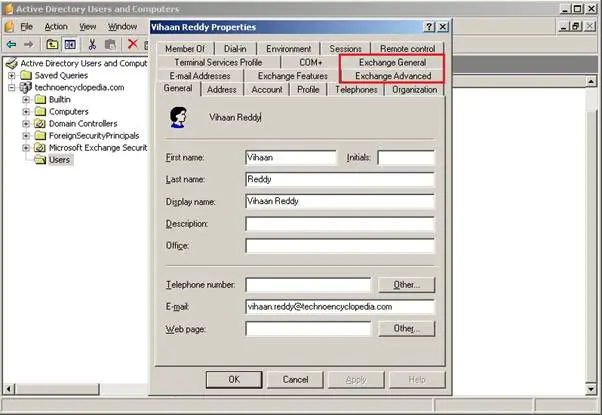
Installation can also be confirmed from Active Directory interface that Schema has been extended successfully, It will show“Exchange General” and“Exchange Advanced” tabs.
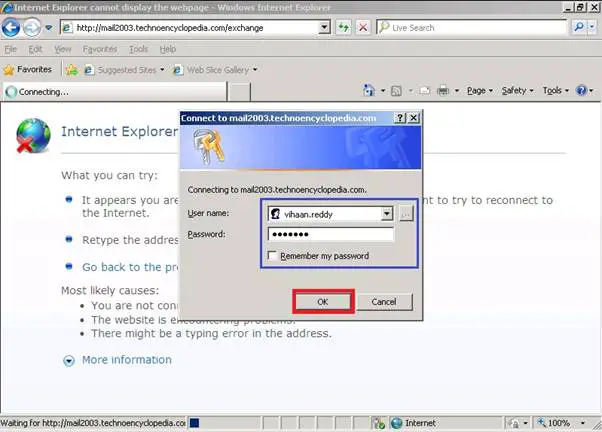
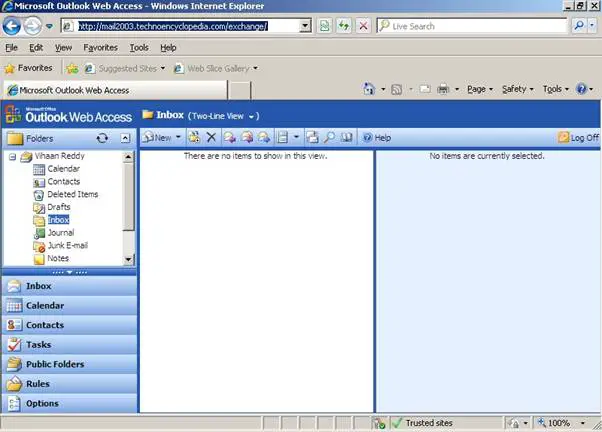
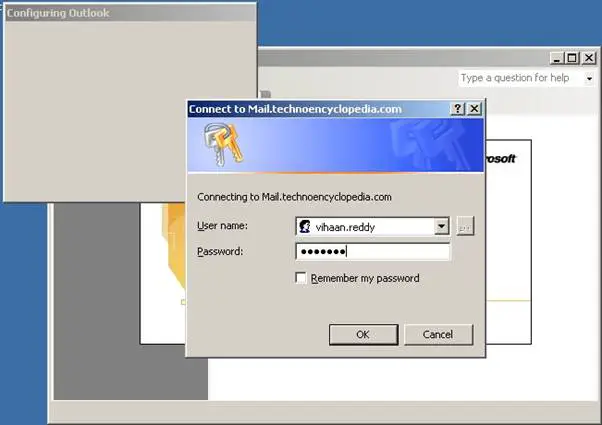
Clients
can access their emails through a web browser by providing user name
and password to experience the rich interface with most of the outlook
features.
Your mailbox will look like this
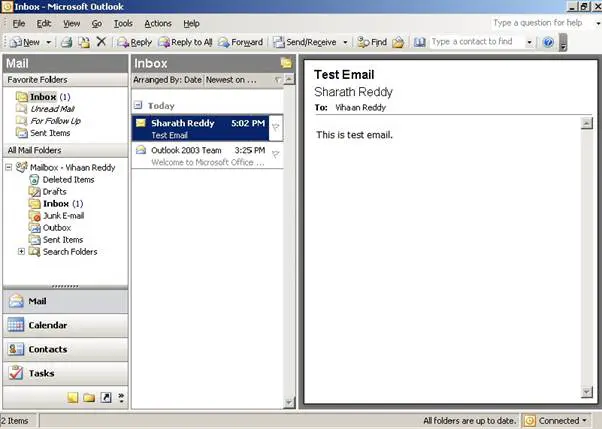
You can also access mailbox through outlook client. It can be Outlook2003 or Oultook2007.
Your mail will appear in outlook as below.
Conclusion:
Exchange
server 2003 has been installed and configured, Users having exchange
mailbox account can now access through Web Access, Outlook, Outlook
Anywhere and other clients.
No comments:
Post a Comment